
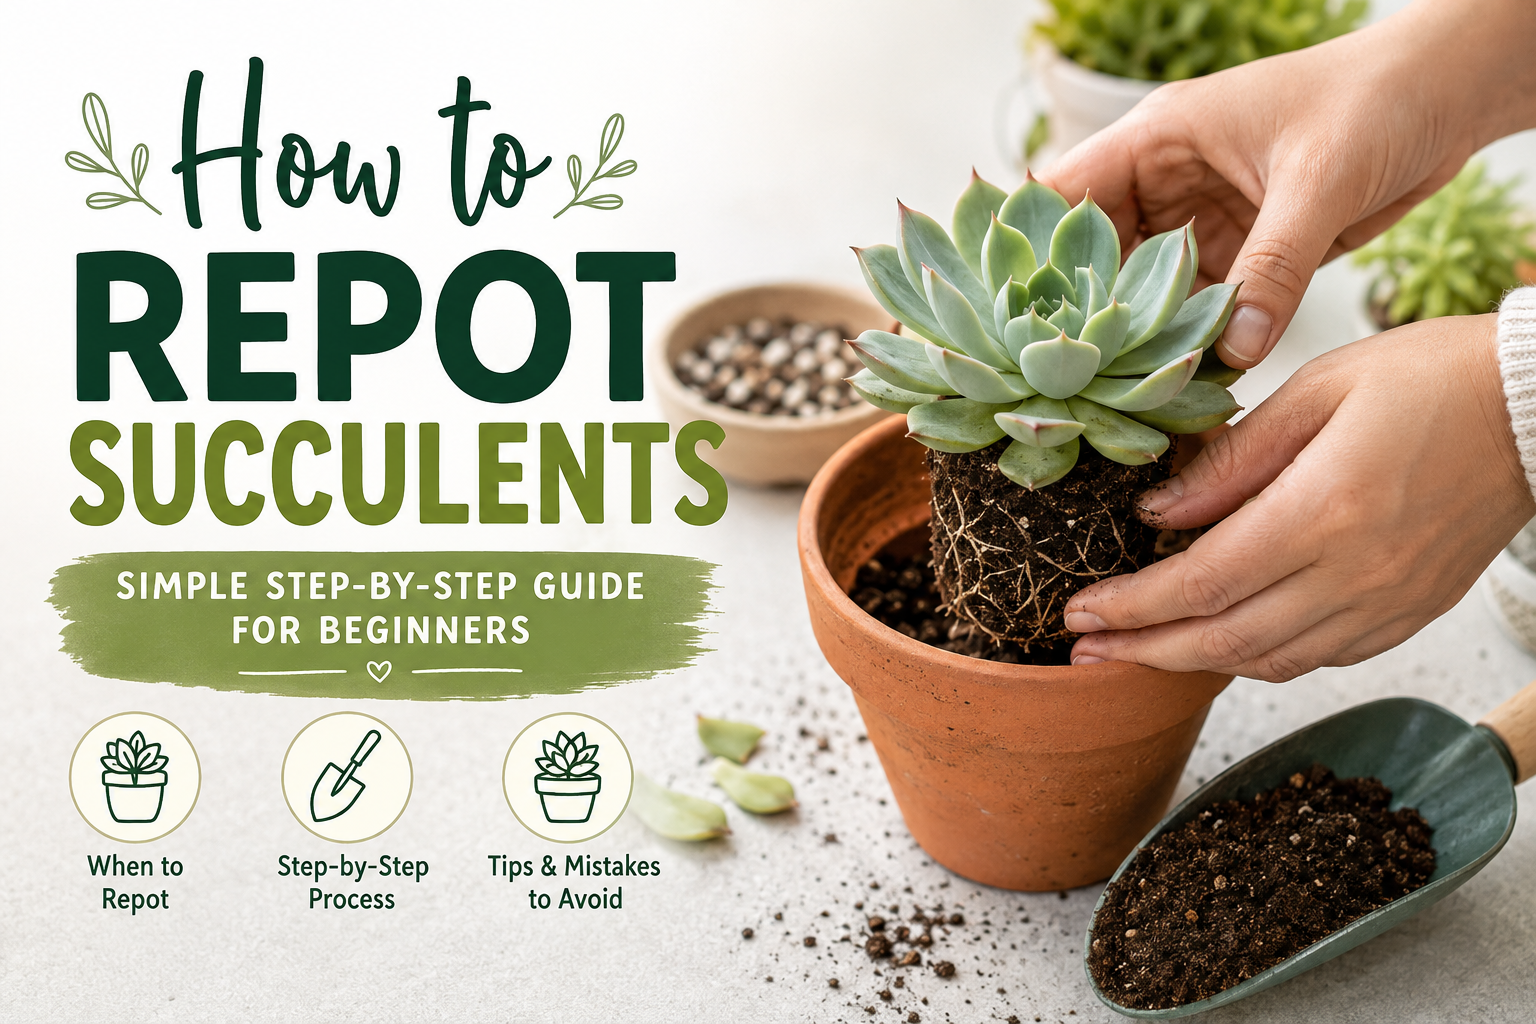
How to Repot Succulents: A Beginner’s Step-by-Step Guide (2026)
If you’ve been growing a succulent for a while, you may have started wondering whether it’s time to move it into a new pot. Maybe you’ve noticed roots growing out of the drainage holes, the plant seems too large for its container, or the soil dries out much faster than it used to.
These are all common signs that your succulent might be ready for a fresh start.
When I first started learning about indoor plants, I assumed repotting was something you only did when a plant became too big. As I read more and cared for my own plants, I realised there’s another important reason to repot—a fresh potting mix can give the roots a healthier environment to grow in.
Over time, soil naturally breaks down. It becomes more compact, drains more slowly, and doesn’t allow as much air to reach the roots. Even if you’re watering correctly, old soil can make it harder for your succulent to stay healthy.
The good news is that repotting isn’t difficult. With the right pot, a well-draining soil mix, and a little patience, you can help your succulent continue growing for years to come. After repotting, place your plant somewhere with suitable light. Here’s how much light succulents need indoors and how to recognize signs of too little or too much.
In this guide, we’ll walk through each step of the repotting process, explain when it’s actually necessary, and look at the mistakes that are easiest to avoid if you’re new to indoor plants.
Before you begin, it’s worth making sure you have the right growing medium. If you haven’t chosen a suitable potting mix yet, I recommend reading Best Soil for Succulents first. It explains why drainage is so important and how to choose a mix that supports healthy root growth.
When Should You Repot a Succulent?
One of the biggest misconceptions about succulents is that they need to be repotted every year.
In reality, most indoor succulents are perfectly happy staying in the same pot for two or even three years.
Rather than following a strict schedule, it’s better to watch for signs that your plant is asking for more space or fresher soil.
Here are a few situations where repotting usually makes sense.
The Roots Are Growing Out of the Pot
Take a quick look underneath your pot.
If you can see roots growing through the drainage holes, your succulent has probably filled most of the available space.
While this isn’t an emergency, it’s a good indication that the plant would benefit from a slightly larger home.
The Soil Dries Out Very Quickly
Healthy succulent soil should drain well, but it shouldn’t become completely dry just a few hours after watering.
If you’re finding yourself watering more often than usual, it may be because the roots have taken over most of the pot, leaving very little soil behind to hold moisture.
The Soil Has Become Hard and Compacted
Even good-quality potting mixes change over time.
As organic materials break down, the soil can become denser and lose the loose texture that succulents prefer.
Compacted soil doesn’t drain as efficiently and reduces airflow around the roots.
This is one reason why refreshing the soil every few years is often recommended.
You’ve Just Bought a New Succulent
Many succulents sold in garden centres are planted in a lightweight nursery mix that’s designed for transport and temporary growth.
That doesn’t necessarily mean you need to repot your new plant immediately.
If the succulent looks healthy, it’s usually a good idea to let it adjust to its new home for a week or two before disturbing the roots.
Once the plant has settled in, you can decide whether moving it into fresh succulent soil is necessary.
When Is the Best Time to Repot Succulents?
Timing isn’t everything, but it can make the process a little easier on your plant.
For most succulents, spring and early summer are considered the best times to repot because this is when many varieties begin their active growing season.
Repotting during active growth gives the roots time to establish themselves before the plant slows down later in the year.
That said, indoor succulents don’t always follow strict seasonal patterns.
If your plant is struggling because of poor soil, root rot, or a damaged pot, it’s usually better to solve the problem rather than waiting for the “perfect” season.
Healthy roots are more important than the calendar.
Choosing the Right Pot
A new pot doesn’t need to be dramatically larger than the old one.
In fact, choosing a pot that’s too large is one of the easiest mistakes to make.
A container with too much extra space holds more soil, and more soil usually means more moisture around the roots.
For most succulents, a pot that’s about 1–2 inches wider than the current one is enough.
When choosing a pot, look for these features:
- A drainage hole at the bottom.
- A size that’s only slightly larger than the root ball.
- A stable material suitable for indoor plants.
Many indoor gardeners prefer terracotta because it allows some moisture to evaporate through the sides of the pot.
Ceramic pots also work well, provided they have a drainage hole.
If you’d like help deciding which type of container is best, our upcoming guide on Best Pots for Succulents (link after publishing) will compare different materials in more detail.
What You’ll Need Before You Start
Repotting doesn’t require lots of special tools.
Gather these items before you begin:
- Your succulent.
- Fresh succulent potting mix.
- A clean pot with drainage holes.
- Small gardening gloves (optional).
- A hand trowel or spoon.
- Clean scissors or pruning shears.
Having everything ready makes the process much smoother and means your plant spends less time out of the soil.
Step 1: Prepare the New Pot
Before removing your succulent, prepare its new home.
Add a small amount of fresh potting mix to the bottom of the pot.
Don’t press the soil down firmly.
Loose soil allows the roots to spread naturally and improves airflow once the plant is watered.
If you’re unsure whether your soil mix is suitable, revisit Best Soil for Succulents before continuing.
Choosing the right soil is one of the easiest ways to prevent future problems such as root rot.
Step 2: Remove the Succulent Carefully
Now it’s time to remove the plant from its current pot.
Hold the base of the succulent gently and tip the pot sideways.
If the plant doesn’t slide out easily, lightly squeeze the sides of a plastic nursery pot or run a blunt tool around the inside edge to loosen the soil.
Try not to pull on the leaves.
Succulent leaves are surprisingly delicate and can snap off if too much force is used.
Once the plant is out, gently shake away some of the old soil so you can inspect the roots.
Don’t worry about removing every last bit.
The goal is simply to make room for fresh soil while checking that the roots look healthy.
Step 3: Check the Roots
Now that your succulent is out of its old pot, take a few moments to look at the roots before placing it into fresh soil.
This is one of the biggest advantages of repotting—you get to see what’s happening below the surface.
Healthy succulent roots are usually:
- Firm
- White, cream, or light brown
- Evenly spread
- Free from unpleasant smells
Don’t worry if some fine roots break while you’re handling the plant. That’s completely normal.
What you’re looking for are roots that appear black, soft, mushy, or have an unpleasant smell. These are common signs of root rot and should be removed before repotting.
Using clean scissors or pruning shears, carefully trim away any damaged roots. If you remove a large number of roots, allow the plant to rest in a dry place for a day before placing it into fresh soil. This gives the cuts time to dry and reduces the risk of infection.
If you’ve discovered root rot, you’ll also find our guide on Overwatered Succulent helpful because it explains why root problems happen and how to prevent them in the future.
Step 4: Position the Succulent in Its New Pot
Place your succulent in the centre of the new pot.
The base of the plant should sit just above the soil line—not buried too deeply and not sitting too high.
Once you’re happy with the position, gently add fresh soil around the roots.
Instead of pressing the soil firmly, lightly tap the sides of the pot or gently shake it. This helps the soil settle naturally around the roots while keeping it loose enough for air and water to move through.
Avoid covering the leaves with soil, especially on rosette-shaped succulents like Echeverias. Leaves resting on damp soil are more likely to rot.
Take your time during this step. A few extra minutes now can make a big difference to your plant’s long-term health.
Step 5: Should You Water After Repotting?
This is probably the question people search for most, and the answer often surprises beginners.
In most cases, it’s better to wait.
If your succulent has healthy roots and you’ve only refreshed the soil, waiting 2 to 5 days before watering allows any small root injuries to heal.
If you’ve trimmed damaged or rotting roots, waiting a little longer—around 5 to 7 days—is often recommended.
Why?
Fresh cuts on roots can absorb too much moisture, increasing the chance of rot before the plant has had time to recover.
Once you do water, give the soil a thorough soak until water drains from the bottom of the pot. Then allow the soil to dry before watering again.
Rather than following a calendar, check the soil each time.
If you’re still unsure, our guide on How Often Should You Water Succulents? explains simple ways to tell when your plant actually needs water.
What to Expect After Repotting
It’s completely normal for your succulent to look a little different for the first week or two.
Some plants pause their growth while they adjust to their new environment.
As long as the leaves remain firm and the stem stays healthy, there’s usually no reason to worry.
Over the next few weeks, you may notice:
- New leaves beginning to appear.
- Firmer growth.
- Better stability in the pot.
- Faster drying soil if you’ve upgraded to a better mix.
Remember, roots need time to settle before visible growth appears above the soil.
Common Repotting Mistakes
Repotting is straightforward, but there are a few mistakes that are easy to make when you’re new to indoor plants.
Choosing a Pot That’s Too Large
It’s tempting to move your succulent into a much bigger pot, thinking it gives the plant more room to grow.
In reality, too much extra soil often means the pot stays wet for longer.
A slightly larger pot is usually the better choice.
Reusing Old Soil
Old potting soil gradually loses its structure.
Even if it still looks fine, it may not drain as well as it once did.
Fresh succulent soil gives the roots a healthier environment and is usually worth the small extra cost.
Watering Too Soon
This is one of the most common mistakes after repotting.
Giving the roots a few days to recover before watering helps reduce the risk of rot.
Ignoring Root Problems
Repotting is the perfect opportunity to inspect the roots.
If you notice damaged or rotten roots, don’t simply cover them with fresh soil and hope for the best.
Removing unhealthy roots now can prevent much bigger problems later.
Forgetting About Light
A freshly repotted succulent doesn’t need intense afternoon sunlight immediately.
Bright, indirect light for the first few days helps reduce stress while the roots settle into their new home.
Frequently Asked Questions
How often should I repot my succulent?
Most indoor succulents only need repotting every 2 to 3 years. Repot sooner if the roots outgrow the pot, the soil becomes compacted, or your plant shows signs of poor drainage.
Can I repot a succulent in winter?
You can if it’s necessary, especially if the soil is causing problems or the pot is damaged. However, many succulents recover more quickly when repotted during their active growing season in spring or early summer.
Should I remove all of the old soil?
No.
It’s perfectly fine if some of the old soil remains attached to the roots. Removing every bit can damage delicate roots unnecessarily.
Can I reuse the old pot?
Yes, as long as it’s clean and still has a drainage hole.
If you’re reusing the same pot, wash it thoroughly before adding fresh soil.
Can I fertilize immediately after repotting?
It’s usually best to wait a few weeks.
Fresh potting mix often contains enough nutrients to support the plant while it settles into its new environment.
Final Thoughts
Repotting might seem intimidating the first time you do it, but it’s really just another part of helping your succulent stay healthy.
You don’t need special skills or expensive equipment. What matters most is choosing a suitable pot, using a well-draining soil mix, and giving the roots a little time to recover before watering again.
Don’t worry if your first repotting experience isn’t perfect. Every plant owner learns something new each time they care for their plants.
The more you observe your succulent, the easier it becomes to recognise when it’s happy, when it needs fresh soil, or when it’s simply asking for a little more space.
If you’re building your confidence with indoor plants, each small step—whether it’s repotting, watering, or propagation—helps you become a better plant parent over time.
If you’re planning to grow more succulents, your next step is learning How to Propagate Succulents so you can turn one healthy plant into several. And if you’re trying to solve yellow leaves, mushy stems, or slow growth, our guides on Why Is My Succulent Dying? and Overwatered Succulent can help you troubleshoot common problems.

I am the creator of LeafyAbode, a platform dedicated to helping people grow and care for indoor plants with confidence. I share practical, easy-to-follow guides on plant care, home gardening, and creating a green living space. My content is based on research, real experience, and a passion for making plant care simple for beginners and enthusiasts alike.
Post Disclaimer
The information contained in this post is for general information purposes only. The information is provided by How to Repot Succulents: Easy Step-by-Step Guide for Beginners (2026) and while we endeavour to keep the information up to date and correct, we make no representations or warranties of any kind, express or implied, about the completeness, accuracy, reliability, suitability or availability with respect to the website or the information, products, services, or related graphics contained on the post for any purpose.
4 thoughts on “How to Repot Succulents: Easy Step-by-Step Guide for Beginners (2026)”