
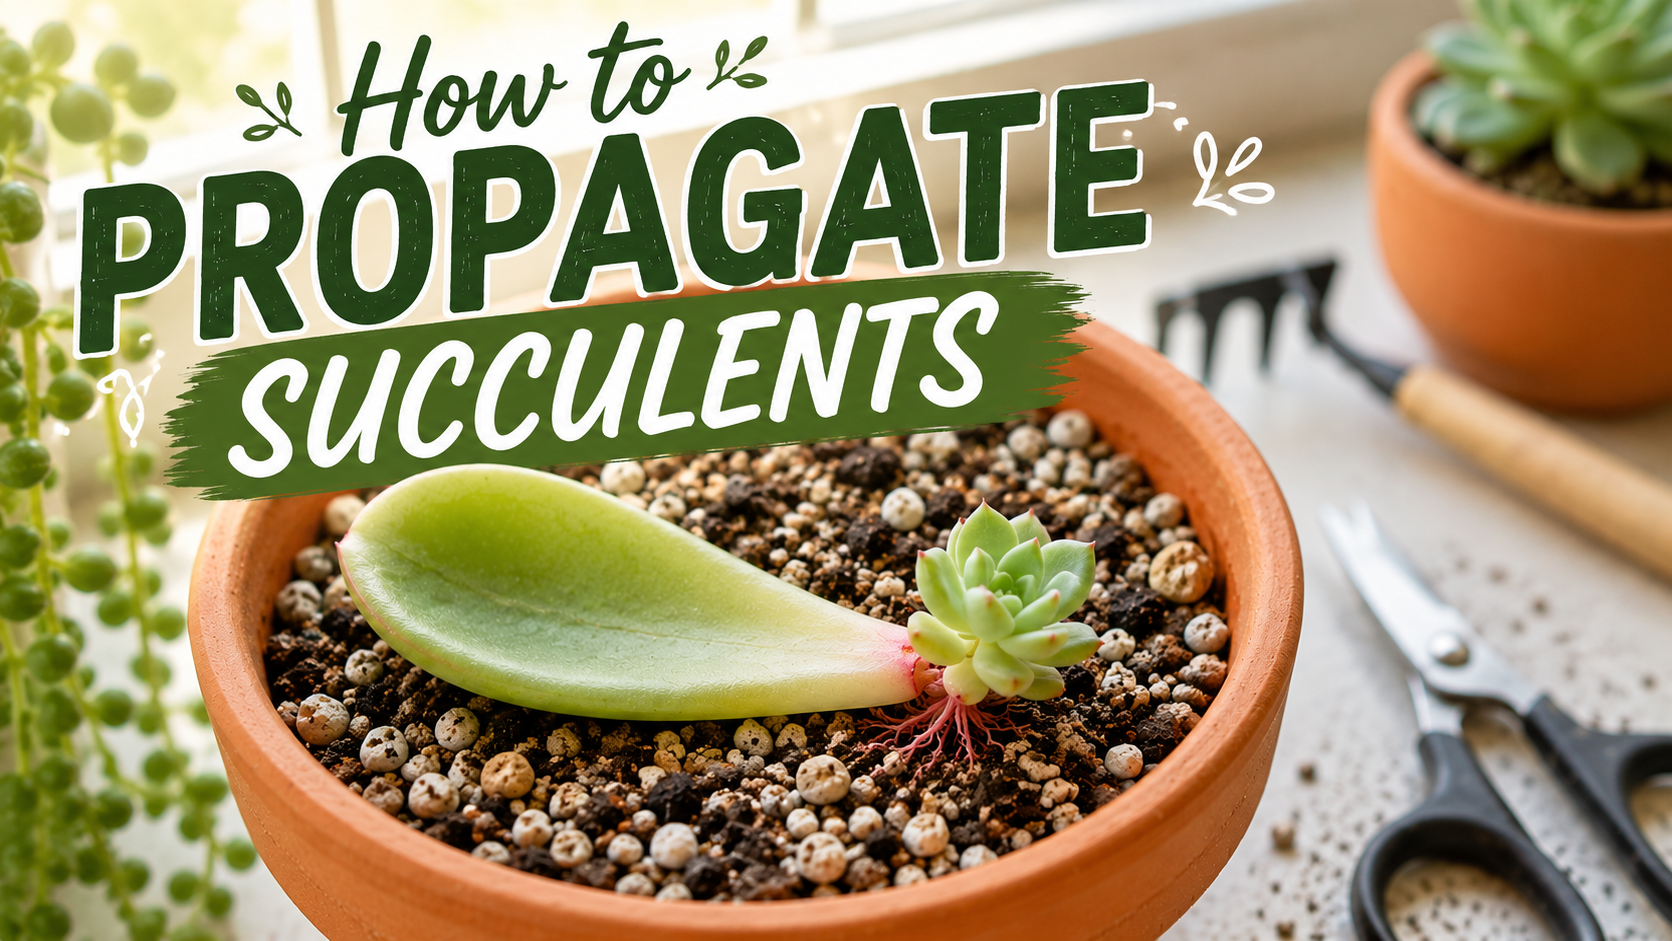
How to Propagate Succulents: A Beginner’s Step-by-Step Guide (2026)
Have you ever looked at your succulent and wished you could grow another one without buying a new plant? The good news is that many succulents make that possible through propagation. It might sound like a gardening term reserved for experts, but it’s actually one of the easiest and most rewarding ways to grow your indoor plant collection.
If you’re completely new to succulents, don’t worry. You don’t need a greenhouse, expensive tools, or years of experience. With a healthy plant, a little patience, and the right conditions, many succulents can grow into new plants from a single leaf, stem cutting, or small offshoot.
The first time many beginners try propagation, it’s tempting to rush the process. You might place a freshly picked leaf into wet soil and expect roots within a few days. Unfortunately, succulents don’t work that way. They’re naturally slow growers, and understanding their growth habits is often the difference between success and disappointment.
In this guide, we’ll walk through the entire propagation process in simple steps, explain why each step matters, and help you avoid the most common beginner mistakes. By the end, you’ll feel confident enough to try propagating your own succulents at home.
Before you begin, make sure your plant is growing in the right growing medium. Healthy roots start with well-draining soil, so it’s worth reading our guide on Best Soil for Succulents if you haven’t already.
What Does Propagating a Succulent Mean?
Propagation simply means creating a new plant from an existing one. Instead of growing a succulent from seeds, which can take a long time, propagation allows you to use part of a healthy plant to grow another.
Think of it as giving your succulent a fresh start. Under the right conditions, a single leaf or stem cutting can eventually develop roots and become a completely independent plant.
This is one reason succulents are so popular among beginners. Many varieties naturally reproduce this way in the wild. When leaves fall onto dry soil, they sometimes develop roots and create new plants without any human help.
Not every propagation attempt succeeds, and that’s perfectly normal. Even experienced plant growers lose a few leaves along the way. The goal isn’t perfection—it’s learning what works and giving each cutting the best chance to grow.
Can Every Succulent Be Propagated?
Most succulents can be propagated, but the method depends on the type of plant you have.
Some succulents grow well from individual leaves, while others produce better results from stem cuttings or offsets. Understanding which method suits your plant will save time and improve your chances of success.
Leaf Propagation
Many popular succulents can grow entirely from a healthy leaf.
Examples include:
- Echeveria
- Graptopetalum
- Sedum
- Pachyphytum
With this method, the leaf develops tiny roots first. Over time, a miniature succulent begins to grow from the base of the leaf. The original leaf slowly dries up as the new plant becomes stronger.
Stem Cuttings
Some succulents respond much better to stem propagation.
This works especially well for:
- Jade Plant
- Burro’s Tail
- String of Bananas
- Portulacaria Afra
After cutting a healthy stem, allowing it to dry, and planting it in well-draining soil, roots begin forming beneath the surface.
Offsets (Pups)
Certain succulents naturally produce baby plants around their base.
These are often called pups or offsets.
Popular examples include:
- Aloe Vera
- Haworthia
- Hens and Chicks
Once the offsets develop their own roots, they can be carefully separated and planted into their own pots.
If you’re still deciding which succulent to grow next, choosing beginner-friendly varieties can make propagation much easier. We’ll cover this in our upcoming guide on Best Succulents for Beginners.
What You’ll Need
One of the best things about succulent propagation is that it requires very little equipment.
For most propagation projects, you’ll need:
- A healthy succulent
- Clean scissors or pruning shears
- A small pot with drainage holes
- Well-draining succulent soil
- Bright, indirect sunlight
- A little patience
Notice that expensive rooting hormones, grow lights, and special fertilizers aren’t on this list. While some experienced growers use them, they’re usually unnecessary for beginners.
If your succulent doesn’t have enough natural light indoors, don’t worry. We’ll discuss the best lighting options in our future guide on Succulent Light Requirements.
How to Choose the Right Leaf or Stem
The quality of the cutting plays a huge role in whether propagation succeeds.
Always start with a healthy plant that shows no signs of disease, pests, or rot.
For leaf propagation, gently twist the leaf from the stem rather than pulling it straight off. A healthy leaf should detach cleanly with its entire base intact.
If part of the leaf remains attached to the plant, the chances of successful propagation decrease significantly because that’s where new roots and baby plants usually begin forming.
For stem cuttings, choose a firm, healthy stem with several leaves. Using clean scissors helps create a smooth cut and reduces the risk of introducing bacteria or fungal diseases.
Avoid taking cuttings from stressed plants that are already struggling with yellow leaves, mushy stems, or root rot. A healthy parent plant almost always produces healthier offspring.
If your succulent is already showing signs of overwatering, it’s better to solve that problem before attempting propagation. Our guide on Overwatered Succulent explains how to recognize and fix the issue before it spreads.
Step 1: Let the Cutting Callous
This is one of the most overlooked steps, yet it’s also one of the most important.
Unlike many houseplants, succulents shouldn’t be planted immediately after removing a leaf or stem.
Instead, place the cutting in a dry location away from direct sunlight for a few days.
During this time, the cut end gradually dries and forms a protective layer called a callous.
You can think of it as nature’s bandage.
Without this protective layer, freshly cut succulents are much more likely to absorb excess moisture, which can quickly lead to rot once they’re placed in soil.
The time needed depends on the size of the cutting.
A small leaf may only need two or three days, while a thicker stem cutting could take up to a week.
It’s worth waiting because this simple step greatly improves the chances of successful propagation.
Step 2: Prepare the Soil
While the cuttings are drying, prepare their new home.
Choose a small pot with drainage holes and fill it with a loose, gritty succulent mix.
The goal isn’t to provide lots of nutrients. Instead, you’re creating an environment where excess water drains quickly and roots receive enough oxygen.
Heavy garden soil or regular potting mix often stays wet for too long, increasing the risk of rot before roots have a chance to develop.
If you’re unsure whether your soil drains quickly enough, refer back to Best Soil for Succulents, where we explain how to test your potting mix before planting.
There’s no need to water the soil immediately after placing the cuttings. In fact, waiting a little longer often produces better results because the new roots haven’t formed yet.
Step 3: Place the Cutting on or in the Soil
Once the cutting has developed a dry callous, it’s time to place it in its new growing medium.
For leaf propagation, simply lay the leaf on top of the soil. There’s no need to bury it. The tiny roots will naturally grow downward while the new baby succulent develops where the leaf was attached to the parent plant.
For stem cuttings, insert the calloused end about an inch into the soil. Gently press the soil around the stem so it stays upright, but don’t pack the soil too tightly. Loose soil allows better airflow around the developing roots.
After planting, place the pot somewhere that receives bright, indirect sunlight. A windowsill with filtered light often works well. Avoid intense afternoon sun because freshly propagated succulents can dry out before they’ve had a chance to establish roots.
If you’re unsure whether your succulent is getting the right amount of light, our upcoming guide on Succulent Light Requirements will help you find the ideal location inside your home.
Step 4: When Should You Water?
This is where many beginners accidentally ruin an otherwise healthy cutting.
Freshly propagated succulents don’t have roots yet, so they can’t absorb much water. Watering immediately usually keeps the soil damp for too long, increasing the risk of rot.
For leaf propagation, many gardeners wait until tiny roots begin to appear before lightly misting or watering the soil. Once the new plant starts growing, you can gradually follow a normal watering routine.
For stem cuttings, wait about a week after planting before giving the soil a light watering. After that, only water when the soil has dried out completely.
Remember that there isn’t a universal watering schedule. Factors such as your home’s temperature, humidity, pot size, and the season all affect how quickly the soil dries.
Instead of watering every few days, check the soil first. If it still feels damp a couple of inches below the surface, wait a little longer.
If you’d like more guidance, our article on How Often Should You Water Succulents? explains how to tell when your plant genuinely needs water.
Step 5: Be Patient
Propagation teaches one of the most valuable lessons in plant care—patience.
Unlike fast-growing houseplants, succulents develop slowly. It’s completely normal to see very little happening during the first few weeks.
A healthy leaf may sit on the soil without any visible changes before tiny roots begin to emerge. Soon after, you’ll notice a small rosette or baby plant forming at the base.
Stem cuttings also need time. Even if roots are developing below the soil, the plant may not produce new leaves immediately.
Avoid checking for roots every few days by pulling the cutting out of the soil. This can damage delicate new roots and slow down the entire process.
Sometimes, the best thing you can do is simply leave the plant alone.
How Long Does Succulent Propagation Take?
The timeline varies depending on the species, temperature, lighting conditions, and the overall health of the parent plant.
As a general guide:
- Leaves may begin developing roots within 2 to 4 weeks.
- Baby plants often appear after 4 to 8 weeks.
- Stem cuttings usually develop roots within 2 to 6 weeks.
- Larger succulents may take several months before they’re ready to be repotted.
Growth is rarely perfectly predictable. Some leaves produce roots quickly, while others never develop at all.
Don’t be discouraged if only a few of your first propagation attempts succeed. Even experienced growers expect some leaves or cuttings to fail.
Common Mistakes Beginners Make
Understanding what not to do can be just as helpful as knowing the correct steps.
Watering Too Soon
The biggest mistake is watering before roots have formed. Excess moisture often causes leaves and stems to become soft, black, or mushy.
Skipping the Callousing Step
Planting a fresh cutting immediately after removing it from the parent plant greatly increases the chance of rot.
Using Heavy Soil
Regular garden soil or moisture-retaining potting mixes often stay wet for too long. Succulents perform much better in loose, gritty soil that drains quickly.
If you’re unsure whether your mix is suitable, revisit Best Soil for Succulents for a detailed explanation of what makes a good succulent potting mix.
Giving Too Much Sun
Bright light is important, but harsh afternoon sunlight can stress fresh cuttings before they’ve developed roots.
Aim for bright, indirect light until the new plants become established.
Expecting Every Leaf to Grow
Not every healthy-looking leaf will produce roots.
Some simply dry up without developing into a new plant. This is completely normal and doesn’t necessarily mean you’ve done anything wrong.
How Do You Know It’s Working?
One of the most exciting moments is seeing the first signs of new growth.
Depending on the propagation method, you may notice:
- Tiny white or pink roots emerging from the leaf.
- Small green rosettes beginning to grow.
- New leaves appearing at the top of a stem cutting.
- Gentle resistance when lightly tugging a stem cutting, indicating that roots have formed.
These are all encouraging signs that your propagation is progressing well.
Resist the temptation to move or repot the new plant too early. Young succulents are still delicate and benefit from staying in the same container until they’ve developed a stronger root system. Once your propagated succulent has developed a healthy root system, it’s time to move it into its own container. Our How to Repot Succulents guide explains the process.
Frequently Asked Questions
Can you propagate succulents in water?
Some stem cuttings can develop roots in water, but soil propagation is generally the more reliable method for most succulents because it reduces transplant shock and more closely matches their natural growing conditions.
Which succulents are easiest for beginners to propagate?
Echeveria, Jade Plant, Sedum, Aloe Vera, Haworthia, and Graptopetalum are often considered beginner-friendly because they respond well to common propagation methods.
Should I use rooting hormone?
Most home gardeners don’t need rooting hormone for succulents. Healthy cuttings placed in suitable conditions usually develop roots on their own.
Why isn’t my succulent growing roots?
Several factors can slow root development, including low light, temperatures that are too cold, damaged leaves, excess moisture, or simply the natural pace of the plant. Give it more time before assuming the propagation has failed.
Can I propagate a succulent from a damaged leaf?
It depends on the damage. A clean, healthy leaf removed from the stem has the best chance of success. Torn, crushed, or partially broken leaves are less likely to produce new plants.
Final Thoughts
Learning how to propagate succulents isn’t about getting perfect results the first time. It’s about understanding how these remarkable plants grow and giving them the conditions they need to thrive.
Some cuttings will surprise you by rooting quickly. Others may never develop at all. That’s simply part of the process.
Start with one healthy succulent, follow each step patiently, and enjoy watching new plants develop over time. It’s one of the most rewarding aspects of growing succulents indoors, especially when you realize that a single healthy plant can eventually become several.
As you become more comfortable with propagation, you’ll also find it easier to care for your growing collection. If you’re noticing yellow leaves, mushy stems, or slow growth, our guides on Overwatered Succulent, Why Is My Succulent Dying?, and How Often Should You Water Succulents? can help you identify and solve common problems before they become serious.
Whether you’re growing one succulent on a sunny windowsill or gradually building an indoor collection, propagation is a skill that becomes easier with practice. Take your time, stay curious, and don’t be afraid to experiment. Every new plant starts with a single step—and sometimes, a single leaf.

I am the creator of LeafyAbode, a platform dedicated to helping people grow and care for indoor plants with confidence. I share practical, easy-to-follow guides on plant care, home gardening, and creating a green living space. My content is based on research, real experience, and a passion for making plant care simple for beginners and enthusiasts alike.
Post Disclaimer
The information contained in this post is for general information purposes only. The information is provided by How to Propagate Succulents: A Beginner's Step-by-Step Guide (2026) and while we endeavour to keep the information up to date and correct, we make no representations or warranties of any kind, express or implied, about the completeness, accuracy, reliability, suitability or availability with respect to the website or the information, products, services, or related graphics contained on the post for any purpose.
2 thoughts on “How to Propagate Succulents: A Beginner’s Step-by-Step Guide (2026)”